Let’s be honest: we all want flawless skin, don’t we? There’s something about that healthy, glowing face in the mirror that just boosts your confidence like nothing else. Over the years, I’ve tried countless products, tweaked my routines more times than I can count, and honestly, I’ve learned a lot. Today, I’m sharing everything I’ve discovered about facial skincare — routines, products, treatments, and tips that actually work.
Why Skincare Matters
Your skin is your body’s largest organ, and your face is the first thing people notice about you. It’s also the most exposed to the elements — sun, pollution, dirt, and, let’s not forget, stress. I used to think a splash of water and some random cream were enough, but boy, was I wrong. Without proper care, I noticed my skin looked tired, uneven, and just not its best.
The good news? A proper skincare routine can work wonders. It’s not just about looking good (though that’s a huge plus); it’s about protecting your skin from damage and keeping it healthy long-term.
Understanding Your Skin Type
Before you dive into the world of serums and creams, take a moment to understand your skin. I’ve gone through phases where I thought my skin was one type, only to realize later I was totally wrong. Here’s a quick guide to figure it out:
- Oily Skin: Does your face get shiny within hours of washing it? Are blackheads and breakouts a common struggle? Then you’ve got oily skin, my friend.
- Dry Skin: If your skin feels tight, flaky, or rough, it’s probably on the dry side.
- Combination Skin: This was me for the longest time — oily T-zone (forehead, nose, and chin) but dry everywhere else.
- Sensitive Skin: If you’re prone to redness, irritation, or allergic reactions, your skin might be sensitive.
- Normal Skin: Lucky you if your skin’s balanced with no major issues — but don’t slack off on your routine!
Knowing your skin type is key to picking the right products and avoiding frustration.
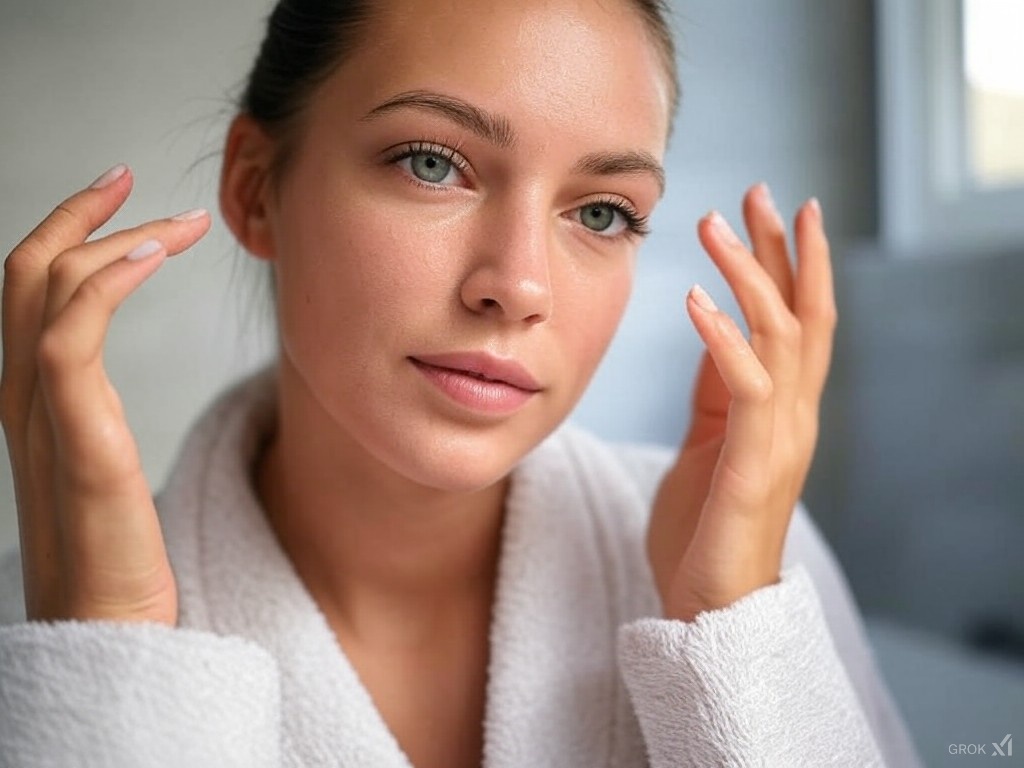
My Daily Skincare Routine
Skincare doesn’t have to be complicated, but consistency is everything. Here’s what my routine looks like, broken down into simple steps:
Morning Routine
- Cleanser: Starting with a clean slate is a must. I love the CeraVe Hydrating Cleanser ($15) because it’s gentle and leaves my skin feeling soft.
- Review: This cleanser has been a lifesaver during dry winter months. It’s fragrance-free and doesn’t strip the skin, making it perfect for sensitive types too.
- Toner: Toners used to confuse me, but now I swear by them. Thayers Witch Hazel Toner ($10) is a staple — it refreshes my skin without drying it out.
- Review: This alcohol-free toner feels refreshing, but if you’re sensitive to witch hazel, patch test first.
- Serum: Vitamin C serums are magic in a bottle. My go-to is SkinCeuticals C E Ferulic ($166). Pricey, yes, but worth every penny for that glow.
- Review: The texture is slightly sticky, but the brightening effects are unmatched. I’ve noticed fewer dark spots after two weeks of use.
- Moisturizer: Even if you’ve got oily skin, don’t skip this step. Neutrogena Hydro Boost Gel ($20) keeps my skin hydrated without feeling heavy.
- Review: Lightweight and absorbs instantly. Great for layering under makeup.
- Sunscreen: The most important step! EltaMD UV Clear SPF 46 ($39) is lightweight and doesn’t leave a white cast.
- Review: Ideal for acne-prone skin. It’s non-greasy and layers beautifully.
Evening Routine
- Makeup Remover: If you wear makeup, don’t sleep in it. I use Bioderma Sensibio H2O ($15), which melts everything away effortlessly.
- Review: This micellar water is gentle and effective, but heavy makeup might require a second pass.
- Cleanser: Double-cleansing is a game-changer. Follow up with your morning cleanser.
- Exfoliation: A couple of times a week, I use The Ordinary Glycolic Acid 7% Toning Solution ($10). It’s strong but effective for smoothing out texture.
- Review: This product can sting on first use, so go slow if you’re new to acids.
- Treatment: Retinol is my nighttime hero. Differin Gel ($15) helps with acne and fine lines.
- Review: It takes time to see results, but it’s worth the patience. Use a moisturizer to avoid dryness.
- Moisturizer: At night, I go for something richer like CeraVe PM Facial Moisturizing Lotion ($15).
- Review: A simple, no-frills moisturizer that never irritates my skin.
Weekly Treats for Your Skin
Every now and then, your skin deserves some extra TLC. Here’s what I love to do:
- Face Masks
- For hydration: The Laneige Water Sleeping Mask ($25) is a dream.
- Review: Waking up with plump, hydrated skin is always a treat. It smells lovely too.
- For detox: The Aztec Secret Indian Healing Clay ($15) mixed with apple cider vinegar works wonders.
- Review: This mask can feel intense, but it leaves my skin incredibly clean and fresh.
- For hydration: The Laneige Water Sleeping Mask ($25) is a dream.
- Facial Steaming
- This feels like a mini spa session and helps open up pores. I use the NanoSteamer Pro ($40) once a week.
- Review: Steaming preps my skin perfectly for masks or extractions. It’s relaxing too.
- This feels like a mini spa session and helps open up pores. I use the NanoSteamer Pro ($40) once a week.
- Peels
- Chemical peels scared me at first, but now I can’t live without them. Drunk Elephant T.L.C. Sukari Babyfacial ($80) leaves my skin baby-smooth.
- Review: It tingles a bit, but the glow afterward is worth it. Use only once a week.
- Chemical peels scared me at first, but now I can’t live without them. Drunk Elephant T.L.C. Sukari Babyfacial ($80) leaves my skin baby-smooth.
- Facial Massage
- A Gua Sha ($10) or Jade Roller ($15) not only feels amazing but also reduces puffiness and improves circulation.
- Review: Using a Gua Sha feels like self-care. I’ve noticed a visible reduction in morning puffiness.
- A Gua Sha ($10) or Jade Roller ($15) not only feels amazing but also reduces puffiness and improves circulation.
When to Call the Pros
Sometimes, you need to bring in the experts. I’ve tried a few professional treatments, and here are my favorites:
Cost: $300-$600 depending on the number of units.
Microdermabrasion
What it is: A minimally invasive procedure that uses a special applicator with an abrasive surface to gently remove the outer layer of dead skin. Some systems also use suction to clear out debris.
Detailed Experience: During the session, the technician passed a wand-like tool over my skin. It felt like a gentle scrubbing but was completely pain-free. Afterward, my skin was smoother, and makeup applied beautifully the next day.
Cost: $75-$200 per session.
Chemical Peels
What it is: A treatment where a chemical solution is applied to the skin to exfoliate and eventually peel off, revealing fresher, smoother skin underneath.
Detailed Experience: The process began with a thorough cleansing, followed by the application of the peel. It tingled slightly but wasn’t uncomfortable. A neutralizer was applied to stop the reaction, and my skin looked visibly brighter within days.
Cost: $150-$300 per session.
Laser Therapy
What it is: A non-invasive treatment that uses focused light to target specific skin concerns like redness, scarring, or uneven pigmentation.
Detailed Experience: The technician used a handheld device that emitted light pulses. I felt a slight warming sensation but no pain. After a few sessions, my acne scars lightened significantly, and redness diminished.
Cost: Starts at $200 per session.
HydraFacial
What it is: A multi-step procedure that cleanses, exfoliates, extracts, and hydrates the skin using a specialized machine.
Detailed Experience: The treatment began with cleansing and gentle exfoliation. Next, a vacuum-like device was used to extract impurities while simultaneously infusing hydration. My skin felt clean, hydrated, and looked glowing immediately.
Cost: $150-$300 per session.
Botox
What it is: An injectable treatment that temporarily relaxes muscles to reduce the appearance of fine lines and wrinkles.
Detailed Experience: The procedure was quick, with tiny needles injecting the solution into targeted areas. There was minimal discomfort, and within a week, my fine lines softened considerably. It gave me a refreshed look without appearing “frozen.”
Final Thoughts
Great skin doesn’t happen overnight. It takes time, patience, and the right products. But trust me, it’s worth the effort. Stay consistent, listen to your skin, and don’t be afraid to experiment until you find what works for you. Whether you’re a skincare newbie or a seasoned pro, I hope this guide helps you on your journey to healthy, glowing skin. Let’s glow together!









Pingback: Beauty Trends 2025: Innovations, Products, and Companies Shaping the Future - Medhouse.info